
Device
How to Change Your Apple Watch Band
How to Change Your Apple Watch Band

Apple Watch bands are designed to be swapped in seconds, and most people do it without thinking twice once they've done it once. If you haven't changed one before, though, the mechanism isn't completely obvious the first time. This guide walks through the process for every band type Apple makes, including what to do if the band won't release.
The good news: you don't need any tools, and it's very difficult to damage the watch or the band if you follow the basic steps. The release mechanism is built to handle thousands of band changes.
Key Takeaways
Most Apple Watch bands use the same push-button release mechanism on the back of the watch case
Solo Loop and Braided Solo Loop bands don't use buttons; they stretch on and off
Apple Watch Series 1-9 and SE bands are compatible with each other in the same case size; Ultra and Series 10 use a different connector
What You Need
Nothing, in most cases. Band changes on Apple Watch require no tools and no accessories. You need the new band, your Apple Watch, and about 30 seconds.
The only exception: if the band is stuck and won't release. In that case, a very small amount of water or rubbing alcohol applied to the channel can help, but this is rarely needed with genuine Apple bands or well-made third-party alternatives.
How to Change a Standard Apple Watch Band
This covers Sport Band, Sport Loop, Leather Band, Milanese Loop, Link Bracelet, and most third-party bands.
Step 1: Turn the watch face down. Place the Apple Watch face-down on a soft, clean surface. A microfiber cloth or the band's packaging works well. You want to protect the screen while accessing the back of the case.
Step 2: Find the band release buttons. On the back of the watch case, you'll see two small oval-shaped buttons, one near the top of the band slot and one near the bottom. Each button releases one half of the band.
Step 3: Press and slide to remove. Press one button firmly and hold it down. While pressing, slide the corresponding band segment outward (away from the center of the watch, toward the end of the slot). It slides out horizontally. Release the button and repeat for the other half of the band.
Step 4: Slide the new band in. Take one half of the new band and align the connector with the slot. The smooth side of the connector faces the back of the watch, and you'll see a small ridge that needs to seat in the channel. Slide it in from the outside toward the center until you hear or feel a click. Repeat for the other half.
Step 5: Verify the lock. Gently pull outward on each band segment. It should not slide. If it pulls free without pressing the release button, it hasn't seated properly. Remove it and try again, making sure you slide it in far enough to click.
How to Change a Solo Loop or Braided Solo Loop
Solo Loop and Braided Solo Loop bands don't use a connector system at all. They're a single continuous loop designed to stretch over your hand and the watch case.
To remove: First, remove the watch from your wrist. Hold the watch case and stretch the band material at one end, working it over the watch case from one edge to the other. The silicone or braided yarn stretches enough to clear the case with a bit of gentle, steady pressure. Don't pull one spot repeatedly; work around the edge.
To attach: Align the band channel with the slot on one side of the watch case. The band sits flush with the bottom of the case. Stretch it around and over to the other side until it's fully seated on both ends. The band should sit flat and even on both sides of the watch.
These bands are attached and removed differently from the watch case, but they still use the same connector format once seated. If you see that a Solo Loop is coming off while wearing it, the band size is likely too large.
How to Change a Milanese Loop
The Milanese Loop uses the same push-button release as standard bands. The difference is that the clasp end of the band has a magnetic closure rather than holes and a pin. Removing and reattaching it follows the exact same steps as the standard band change above. The only difference: when you reattach, you fold and secure the magnetic clasp after putting the watch on, rather than threading a pin through holes.
Apple Watch Band Compatibility Guide
Not all Apple Watch bands work with all models. The case size matters most, and there are two connector generations to be aware of.
Series 1-9 and SE: Bands in 38/40/41mm (small) or 42/44/45mm (large) are interchangeable across these models within the same size category. A 40mm Sport Band from a Series 4 fits a Series 9 40mm case without modification.
Apple Watch Ultra and Ultra 2: These use a 49mm case with the same band connector as the large (44/45mm) bands from Series 4 onwards, with an adapter included in the box for standard bands. Most 44/45mm bands fit with Apple's adapter.
Apple Watch Series 10: Series 10 uses the same connector as Series 4-9 in the corresponding size. A 46mm Series 10 accepts 45mm bands from earlier series.
Series 1, 2, 3 (38mm/42mm): The connector is the same format, but 38mm bands won't fit 40mm cases and vice versa, even though they look similar. Always match the millimeter size.
If you're unsure which bands will fit your watch, the Apple Watch apps guide includes a full compatibility chart.
Troubleshooting: Band Won't Release
This happens occasionally, especially with third-party bands that have a looser fit in the channel or with bands that haven't been changed in a long time.
Press more firmly. The release button requires deliberate pressure. A tentative press often doesn't depress the mechanism fully. Press the button with the pad of your thumb, not a fingernail.
Try the other direction. If you're pressing and the band won't slide, make sure you're sliding it outward (away from the watch face center) rather than pulling it straight up or down.
Apply moisture. If the band has been on for a very long time and feels genuinely stuck, a tiny amount of water applied to the slot area can help. Let it dry completely before attaching a new band.
Check the band type. Some counterfeit or very low-quality bands use a different connector profile that doesn't release smoothly. If a band consistently won't release, the band itself may be the issue rather than the watch.
Get More From Your Apple Watch
Changing your band is the easy part. Getting the most value from Apple Watch means using it as more than a step counter. Apple Watch's health sensors (heart rate, sleep tracking, blood oxygen, ECG) generate data that's most useful when it's connected to something that acts on it.
Lifestack reads your Apple Watch sleep and recovery data through Apple Health and uses it to build your daily schedule around your actual energy levels. On days when your Apple Watch shows poor sleep quality or a higher resting heart rate, Lifestack adjusts your task schedule so demanding cognitive work lands when you're better recovered, not just when it happens to fit on the calendar.
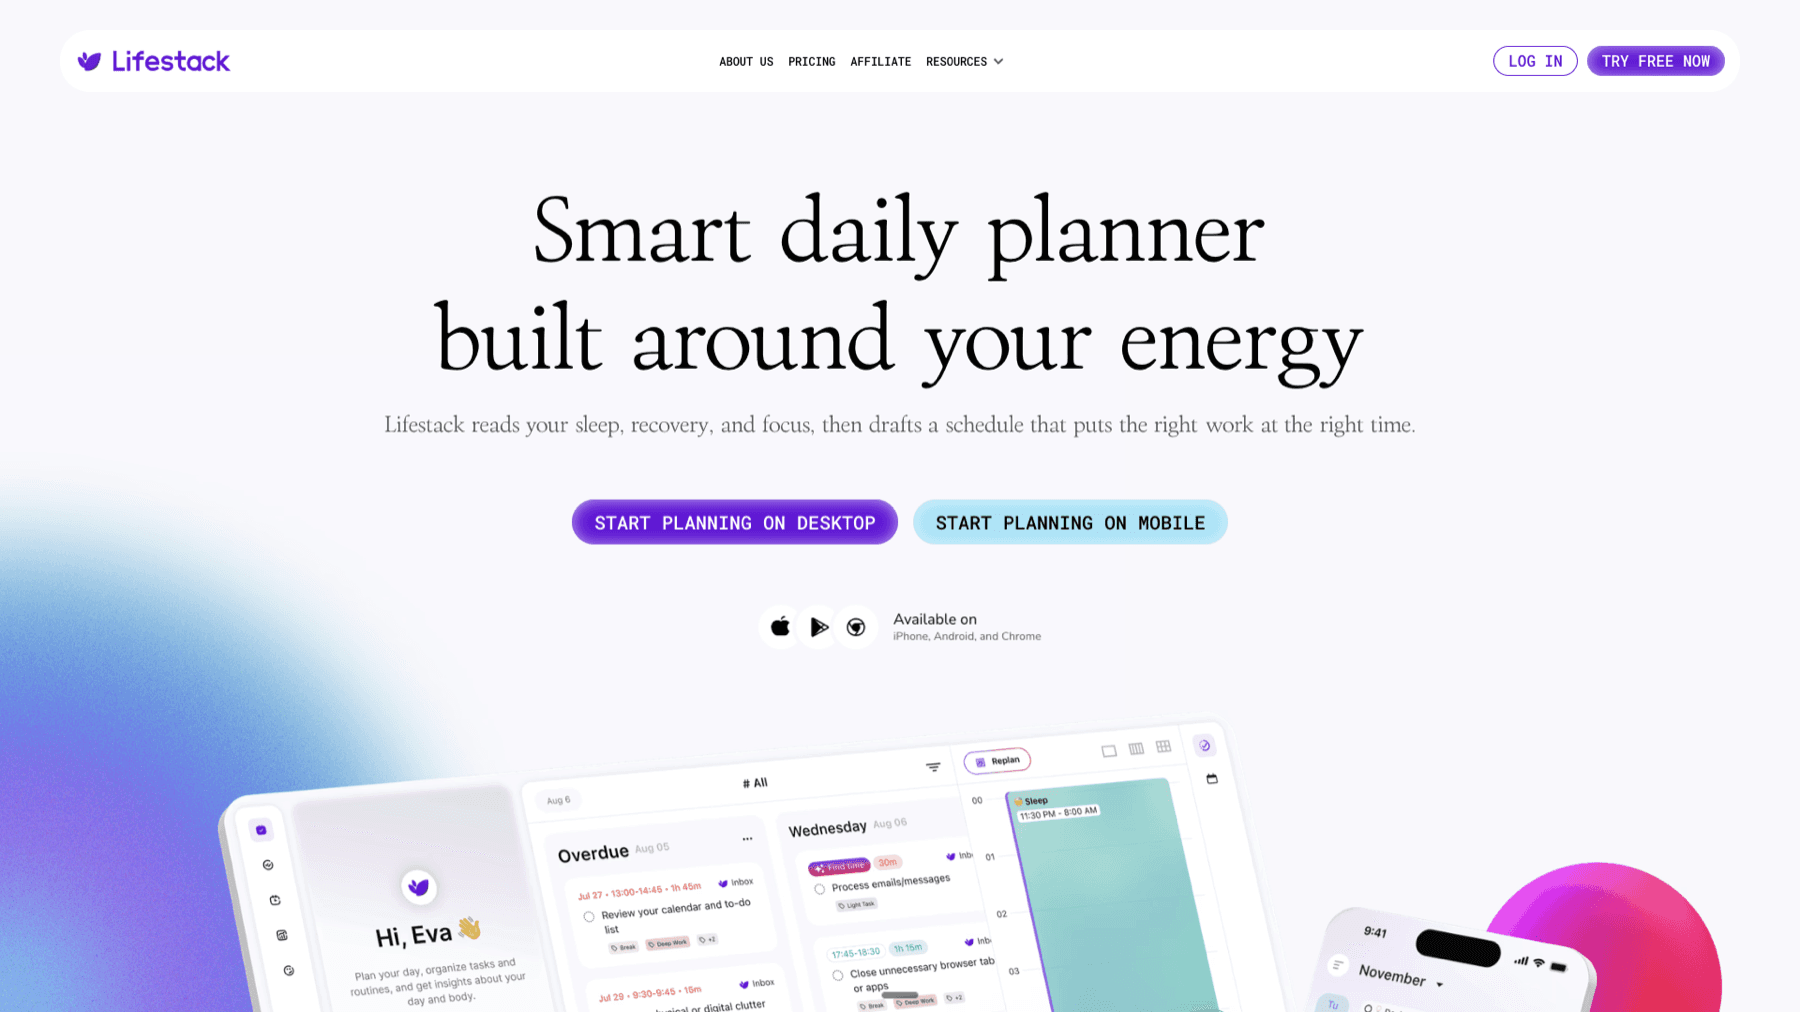
It works alongside other Apple Health-connected apps and is available on iOS. Lifestack is $7/month or $50/year with a 7-day free trial on the annual plan. If you've invested in getting more from your Apple Watch, Lifestack is the scheduling layer that actually uses the health data it collects.
Frequently Asked Questions
Do you need tools to change an Apple Watch band?
No. Apple Watch bands are designed for tool-free swapping. The push-button release mechanism on the back of the case handles everything. The only exception is if you're resizing the Link Bracelet, which requires the band tool included with that specific band.
Can you damage your Apple Watch by changing the band?
It's very difficult to damage the watch itself during a band change. The release mechanism is recessed and protected. The main risk is scratching the watch case against a hard surface while it's face-down. Using a soft cloth underneath prevents this. The screen is facing away during the process, so the display is not at risk.
Are third-party Apple Watch bands as easy to change?
Yes, as long as they use the standard connector format (which nearly all reputable third-party bands do). The mechanism is the same. Very cheap bands occasionally use a slightly different connector profile that fits more loosely or doesn't release as cleanly, but well-made third-party bands from established accessory brands work identically to Apple's own bands.
How often should you change or clean Apple Watch bands?
For hygiene reasons, Apple recommends rinsing Sport Bands and Sport Loops with fresh water after exercise or sweat exposure. Leather and woven bands should not be submerged. Cleaning is easier when you remove the band from the watch first, which is another reason the quick-swap design is practical. There's no set schedule for how often to change bands; it's entirely based on personal preference.
Will a 40mm band fit a 41mm Apple Watch?
Yes. Apple's connector dimensions are consistent across the 38/40/41mm size family. A 40mm band from Series 4-8 fits a 41mm Series 9 or Series 10 case. Similarly, 44mm and 45mm bands are cross-compatible. The millimeter designations changed slightly between generations but the physical connector remained the same format.
What is the fastest way to change an Apple Watch band?
With a bit of practice, the full swap (both halves removed, both halves of the new band installed) takes under 30 seconds. The fastest method: press the release button and slide in one smooth motion rather than pressing first and pausing. Doing this simultaneously with both thumbs on both buttons isn't possible, but working top-to-bottom then repeating with the new band gets fast quickly.
Apple Watch bands are designed to be swapped in seconds, and most people do it without thinking twice once they've done it once. If you haven't changed one before, though, the mechanism isn't completely obvious the first time. This guide walks through the process for every band type Apple makes, including what to do if the band won't release.
The good news: you don't need any tools, and it's very difficult to damage the watch or the band if you follow the basic steps. The release mechanism is built to handle thousands of band changes.
Key Takeaways
Most Apple Watch bands use the same push-button release mechanism on the back of the watch case
Solo Loop and Braided Solo Loop bands don't use buttons; they stretch on and off
Apple Watch Series 1-9 and SE bands are compatible with each other in the same case size; Ultra and Series 10 use a different connector
What You Need
Nothing, in most cases. Band changes on Apple Watch require no tools and no accessories. You need the new band, your Apple Watch, and about 30 seconds.
The only exception: if the band is stuck and won't release. In that case, a very small amount of water or rubbing alcohol applied to the channel can help, but this is rarely needed with genuine Apple bands or well-made third-party alternatives.
How to Change a Standard Apple Watch Band
This covers Sport Band, Sport Loop, Leather Band, Milanese Loop, Link Bracelet, and most third-party bands.
Step 1: Turn the watch face down. Place the Apple Watch face-down on a soft, clean surface. A microfiber cloth or the band's packaging works well. You want to protect the screen while accessing the back of the case.
Step 2: Find the band release buttons. On the back of the watch case, you'll see two small oval-shaped buttons, one near the top of the band slot and one near the bottom. Each button releases one half of the band.
Step 3: Press and slide to remove. Press one button firmly and hold it down. While pressing, slide the corresponding band segment outward (away from the center of the watch, toward the end of the slot). It slides out horizontally. Release the button and repeat for the other half of the band.
Step 4: Slide the new band in. Take one half of the new band and align the connector with the slot. The smooth side of the connector faces the back of the watch, and you'll see a small ridge that needs to seat in the channel. Slide it in from the outside toward the center until you hear or feel a click. Repeat for the other half.
Step 5: Verify the lock. Gently pull outward on each band segment. It should not slide. If it pulls free without pressing the release button, it hasn't seated properly. Remove it and try again, making sure you slide it in far enough to click.
How to Change a Solo Loop or Braided Solo Loop
Solo Loop and Braided Solo Loop bands don't use a connector system at all. They're a single continuous loop designed to stretch over your hand and the watch case.
To remove: First, remove the watch from your wrist. Hold the watch case and stretch the band material at one end, working it over the watch case from one edge to the other. The silicone or braided yarn stretches enough to clear the case with a bit of gentle, steady pressure. Don't pull one spot repeatedly; work around the edge.
To attach: Align the band channel with the slot on one side of the watch case. The band sits flush with the bottom of the case. Stretch it around and over to the other side until it's fully seated on both ends. The band should sit flat and even on both sides of the watch.
These bands are attached and removed differently from the watch case, but they still use the same connector format once seated. If you see that a Solo Loop is coming off while wearing it, the band size is likely too large.
How to Change a Milanese Loop
The Milanese Loop uses the same push-button release as standard bands. The difference is that the clasp end of the band has a magnetic closure rather than holes and a pin. Removing and reattaching it follows the exact same steps as the standard band change above. The only difference: when you reattach, you fold and secure the magnetic clasp after putting the watch on, rather than threading a pin through holes.
Apple Watch Band Compatibility Guide
Not all Apple Watch bands work with all models. The case size matters most, and there are two connector generations to be aware of.
Series 1-9 and SE: Bands in 38/40/41mm (small) or 42/44/45mm (large) are interchangeable across these models within the same size category. A 40mm Sport Band from a Series 4 fits a Series 9 40mm case without modification.
Apple Watch Ultra and Ultra 2: These use a 49mm case with the same band connector as the large (44/45mm) bands from Series 4 onwards, with an adapter included in the box for standard bands. Most 44/45mm bands fit with Apple's adapter.
Apple Watch Series 10: Series 10 uses the same connector as Series 4-9 in the corresponding size. A 46mm Series 10 accepts 45mm bands from earlier series.
Series 1, 2, 3 (38mm/42mm): The connector is the same format, but 38mm bands won't fit 40mm cases and vice versa, even though they look similar. Always match the millimeter size.
If you're unsure which bands will fit your watch, the Apple Watch apps guide includes a full compatibility chart.
Troubleshooting: Band Won't Release
This happens occasionally, especially with third-party bands that have a looser fit in the channel or with bands that haven't been changed in a long time.
Press more firmly. The release button requires deliberate pressure. A tentative press often doesn't depress the mechanism fully. Press the button with the pad of your thumb, not a fingernail.
Try the other direction. If you're pressing and the band won't slide, make sure you're sliding it outward (away from the watch face center) rather than pulling it straight up or down.
Apply moisture. If the band has been on for a very long time and feels genuinely stuck, a tiny amount of water applied to the slot area can help. Let it dry completely before attaching a new band.
Check the band type. Some counterfeit or very low-quality bands use a different connector profile that doesn't release smoothly. If a band consistently won't release, the band itself may be the issue rather than the watch.
Get More From Your Apple Watch
Changing your band is the easy part. Getting the most value from Apple Watch means using it as more than a step counter. Apple Watch's health sensors (heart rate, sleep tracking, blood oxygen, ECG) generate data that's most useful when it's connected to something that acts on it.
Lifestack reads your Apple Watch sleep and recovery data through Apple Health and uses it to build your daily schedule around your actual energy levels. On days when your Apple Watch shows poor sleep quality or a higher resting heart rate, Lifestack adjusts your task schedule so demanding cognitive work lands when you're better recovered, not just when it happens to fit on the calendar.
It works alongside other Apple Health-connected apps and is available on iOS. Lifestack is $7/month or $50/year with a 7-day free trial on the annual plan. If you've invested in getting more from your Apple Watch, Lifestack is the scheduling layer that actually uses the health data it collects.
Frequently Asked Questions
Do you need tools to change an Apple Watch band?
No. Apple Watch bands are designed for tool-free swapping. The push-button release mechanism on the back of the case handles everything. The only exception is if you're resizing the Link Bracelet, which requires the band tool included with that specific band.
Can you damage your Apple Watch by changing the band?
It's very difficult to damage the watch itself during a band change. The release mechanism is recessed and protected. The main risk is scratching the watch case against a hard surface while it's face-down. Using a soft cloth underneath prevents this. The screen is facing away during the process, so the display is not at risk.
Are third-party Apple Watch bands as easy to change?
Yes, as long as they use the standard connector format (which nearly all reputable third-party bands do). The mechanism is the same. Very cheap bands occasionally use a slightly different connector profile that fits more loosely or doesn't release as cleanly, but well-made third-party bands from established accessory brands work identically to Apple's own bands.
How often should you change or clean Apple Watch bands?
For hygiene reasons, Apple recommends rinsing Sport Bands and Sport Loops with fresh water after exercise or sweat exposure. Leather and woven bands should not be submerged. Cleaning is easier when you remove the band from the watch first, which is another reason the quick-swap design is practical. There's no set schedule for how often to change bands; it's entirely based on personal preference.
Will a 40mm band fit a 41mm Apple Watch?
Yes. Apple's connector dimensions are consistent across the 38/40/41mm size family. A 40mm band from Series 4-8 fits a 41mm Series 9 or Series 10 case. Similarly, 44mm and 45mm bands are cross-compatible. The millimeter designations changed slightly between generations but the physical connector remained the same format.
What is the fastest way to change an Apple Watch band?
With a bit of practice, the full swap (both halves removed, both halves of the new band installed) takes under 30 seconds. The fastest method: press the release button and slide in one smooth motion rather than pressing first and pausing. Doing this simultaneously with both thumbs on both buttons isn't possible, but working top-to-bottom then repeating with the new band gets fast quickly.



FOLLOW ON
FOLLOW ON
FOLLOW ON


Copyright 2026 © Lifestack. All rights reserved
Copyright 2026 © Lifestack. All rights reserved

