
Tips
Notion Dashboard: How to Build One in 6 Steps
Notion Dashboard: How to Build One in 6 Steps

What a Notion Dashboard Actually Does
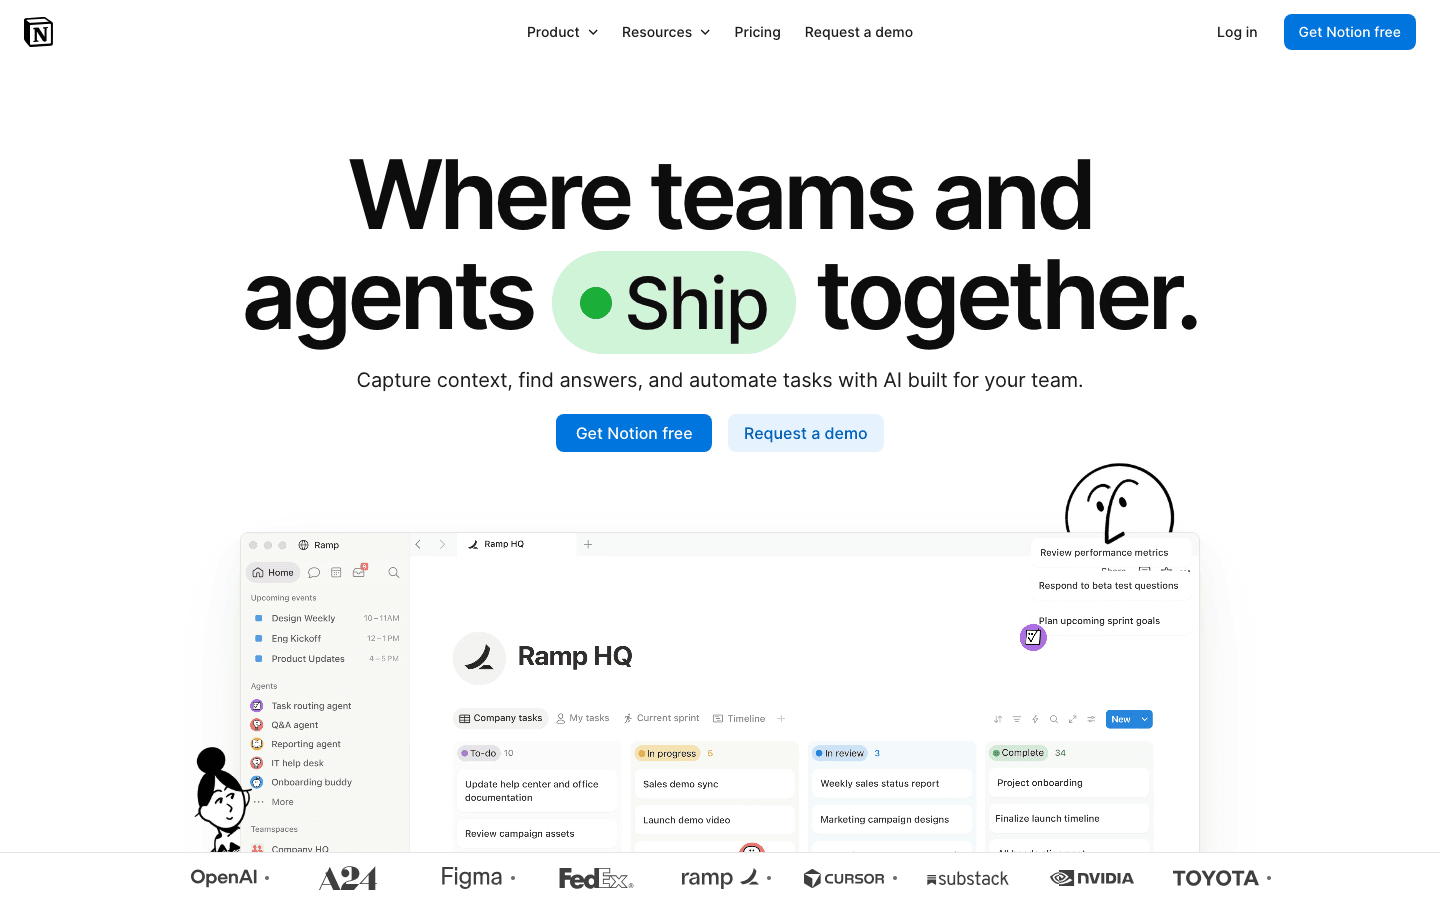
A Notion dashboard is a single page that brings together linked databases, charts, and views from across your workspace. Instead of jumping between five different Notion pages to check your tasks, projects, habits, and reading list, you have one place that shows the status of everything at once.
The word "dashboard" gets used loosely in Notion. It can mean anything from a simple page with a few linked database views to a fully instrumented ops center with live charts, filters, and rollup metrics. What you build depends on what you actually need to track.
This guide covers the six steps to build a functional Notion dashboard from scratch, whether you want a personal productivity hub or a team project overview.
Key Takeaways
Notion dashboards pull from linked databases, so your data only lives in one place and updates everywhere.
The Dashboard view (charts, widgets) requires the Business plan at $20/month. Most personal setups work fine on the free or Plus plan.
Templates save hours. Build the databases first, then wire them into your dashboard page.
Step 1: Decide What Your Dashboard Will Track
Before you open Notion, list the things you actually want to see at a glance. For most people that is: active tasks, upcoming deadlines, ongoing projects, and maybe habits or reading lists. For teams it is typically: sprint tasks, project status, team capacity, and open issues.
The common mistake is trying to put everything on one dashboard. A dashboard with 15 database views becomes unusable. Pick 3 to 5 core categories and start there. You can always add more once the structure is working.
Write down your list before building anything. This becomes your database architecture plan. Every item on your dashboard needs a corresponding database, so you want to know what databases you need before creating the page.
Step 2: Set Up Your Databases
In Notion, type /database on a new page and choose "Table - Full page." This creates a database that lives as its own page in your workspace. Build each database separately before connecting anything to the dashboard.
For a personal productivity dashboard, start with these three databases:
Tasks: Properties for Status (select: Not started, In progress, Done), Due Date (date), Priority (select: High, Medium, Low), and Project (relation to your Projects database).
Projects: Properties for Status (select), Start/End Date (date range), and Area (select: Work, Personal, Side Projects).
Habits: Properties for Date (date), Habit Name (select), and Completed (checkbox).
Build the relation between Tasks and Projects so that each task links to a parent project. This lets you filter your dashboard by project without duplicating data. See our habit tracker planner guide for more on structuring habit databases in Notion.
Step 3: Create Views for Each Database
Each database can have multiple views. A Tasks database might have a Board view for Kanban, a Calendar view for deadline tracking, and a Table view filtered to just "In Progress" tasks. The key insight: the same database, different lenses.
For your dashboard, you want linked database views, not the full database. On any Notion page, type /linked and select "Create linked database view." Choose your Tasks database and add a filter for "Status is not Done" and "Due Date is within the next 7 days." Now your dashboard shows only active, near-term tasks without showing completed ones.
Create these views before building the dashboard page itself. You'll be adding them as linked views, so having them pre-filtered saves time. This is especially useful for building a visual schedule that shows what's happening this week at a glance.
Step 4: Build the Dashboard Page
Create a new full-page document in Notion. Use the "/" command to add a 2-column layout at the top. In the left column, add a linked view of your Tasks database filtered to "Due this week." In the right column, add a linked view of your Projects database filtered to "Status is Active."
Below the two-column row, add your Habits linked view in a gallery or table layout. Use callout blocks (type /callout) to add section labels or status summaries between database views. A simple callout that says "This Week's Focus:" above your tasks view makes the page readable at a glance.
Keep the page structure simple. Headers, a two-column block, and stacked database views get you 90% of the way there. Adding columns, dividers, and cover images makes it look polished without requiring a Business plan. For inspiration, see our digital planner app guide for how others structure their personal operating systems.
Step 5: Add Charts (Plus Plan and Above)
On the Plus plan ($10/month) and above, you can add chart blocks to any Notion page. Type /chart and choose from vertical bar, horizontal bar, line, donut, or number charts. Charts pull from your databases and update automatically as data changes.
Useful charts for a productivity dashboard: a bar chart showing tasks completed per week from your Tasks database, a donut chart showing the breakdown of tasks by Priority, or a number chart showing how many habits you hit today. These give you a visual summary that a linked table view can't.
The more advanced Dashboard view (with widget blocks and multiple chart layouts per row) requires the Business plan at $20/month. For individuals, the Plus plan's chart blocks are enough. For teams managing sprint work or KPIs, the Business plan's dashboard view is worth it.
Step 6: Use Templates to Skip the Setup
If building databases from scratch sounds like a lot of work, Notion's template gallery has dozens of pre-built dashboards. Search the Notion template gallery for "personal dashboard" or "project management dashboard" and you'll find options ranging from minimal setups to full life operating systems.
The Thomas Frank Productivity System template is a popular starting point for personal dashboards. For team use, the Engineering Sprint template or the Company Home template give you a working structure that you can adapt. Templates are a good way to see how relations, rollups, and linked views are supposed to connect before building your own.
Once you import a template, customize it by removing the databases you don't need and adding the views you do. Most templates include more than you'll actually use, so simplifying is the main task. A clean personal setup is described in our daily planner guide if you want a more focused starting point.
The Scheduling Gap in Notion
Notion dashboards are great for tracking what you have to do. They don't tell you when to do it.
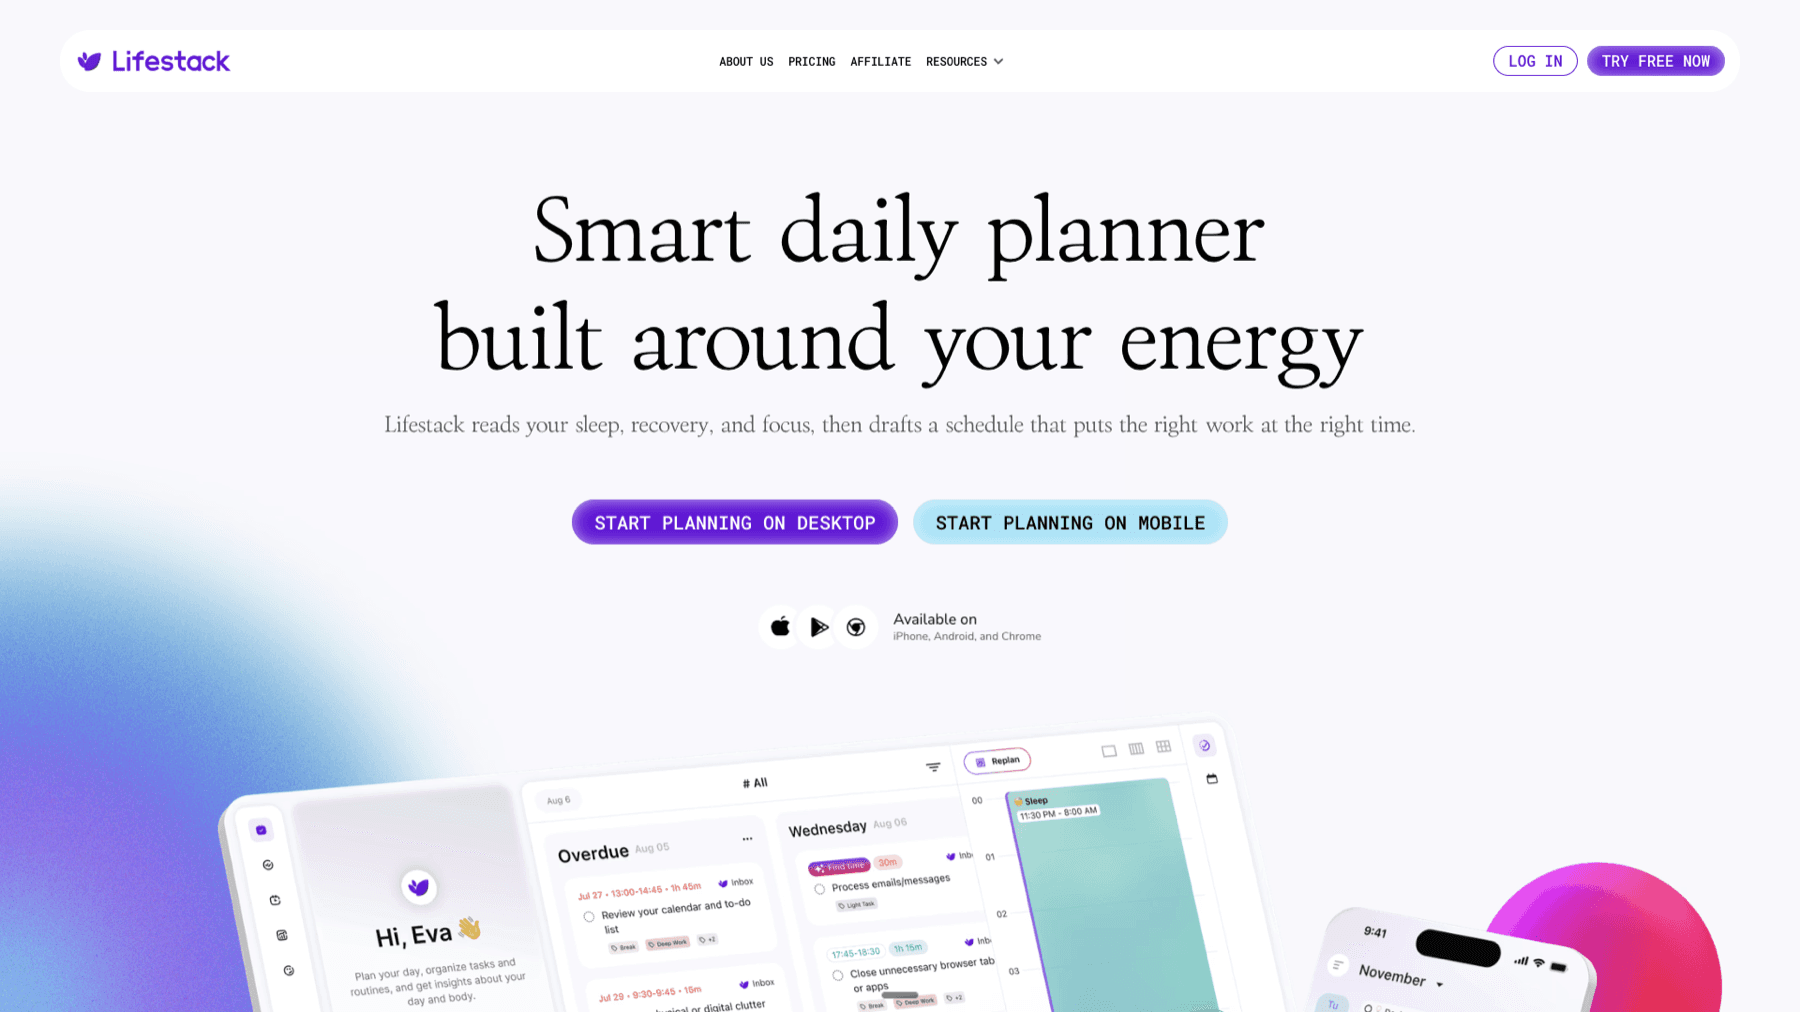
Lifestack is a daily planner built to fill that gap. It reads your task list and your energy levels and auto-schedules work blocks for the times when you're most likely to actually do them. If your Notion dashboard shows a high-priority task that needs three hours of focus time, Lifestack finds a three-hour window in your week that fits your energy pattern and puts it there.
This is what an energy-aware calendar does differently from a plain calendar or Notion timeline. Your schedule isn't just "tasks on dates." It is tasks matched to the mental state you'll actually be in. Many people run their task tracking in Notion and their scheduling in Lifestack, using the two tools together. See our daily planner with Google Calendar sync guide for how that kind of two-tool setup works in practice.
Lifestack costs $10/month or $50/year, with a 7-day free trial on the annual plan.
Frequently Asked Questions
Can I build a Notion dashboard for free?
Yes. The free plan supports unlimited pages, linked database views, and basic layouts. You can build a fully functional personal dashboard with linked Tasks, Projects, and Habits views at no cost. Charts require the Plus plan ($10/month), and the advanced Dashboard widget view requires Business ($20/month).
What is the difference between a Notion dashboard and a Notion page?
A regular Notion page is static content (text, images, embeds). A dashboard page uses linked database views to pull live data from your databases. When you complete a task in your Tasks database, the linked view on your dashboard updates automatically. The dashboard is a reading surface; the databases are where data actually lives.
How do I make a Notion dashboard look good?
Use a cover image and page icon, add column layouts to organize views side by side, use callout blocks as visual dividers, and keep the number of database views to 4 to 6. Consistent property names and a limited set of status options make views easier to read. The Notion template gallery shows many well-designed examples to draw from.
Can I share a Notion dashboard with my team?
Yes. Share the dashboard page with guests (free on all plans, limited access) or full workspace members. On the Plus plan, you can publish a page to the web as a read-only link. For collaborative editing by a team, members need a seat on your workspace.
What is the best Notion dashboard template?
The Thomas Frank Productivity System is widely recommended for personal productivity. The Notion official "Personal Dashboard 2026" template is a cleaner, more minimal starting point. For team use, the Company Home and Project Management templates are solid foundations. Browse the weekly planner app guide for alternatives if Notion's complexity feels like too much overhead for your workflow.
What a Notion Dashboard Actually Does
A Notion dashboard is a single page that brings together linked databases, charts, and views from across your workspace. Instead of jumping between five different Notion pages to check your tasks, projects, habits, and reading list, you have one place that shows the status of everything at once.
The word "dashboard" gets used loosely in Notion. It can mean anything from a simple page with a few linked database views to a fully instrumented ops center with live charts, filters, and rollup metrics. What you build depends on what you actually need to track.
This guide covers the six steps to build a functional Notion dashboard from scratch, whether you want a personal productivity hub or a team project overview.
Key Takeaways
Notion dashboards pull from linked databases, so your data only lives in one place and updates everywhere.
The Dashboard view (charts, widgets) requires the Business plan at $20/month. Most personal setups work fine on the free or Plus plan.
Templates save hours. Build the databases first, then wire them into your dashboard page.
Step 1: Decide What Your Dashboard Will Track
Before you open Notion, list the things you actually want to see at a glance. For most people that is: active tasks, upcoming deadlines, ongoing projects, and maybe habits or reading lists. For teams it is typically: sprint tasks, project status, team capacity, and open issues.
The common mistake is trying to put everything on one dashboard. A dashboard with 15 database views becomes unusable. Pick 3 to 5 core categories and start there. You can always add more once the structure is working.
Write down your list before building anything. This becomes your database architecture plan. Every item on your dashboard needs a corresponding database, so you want to know what databases you need before creating the page.
Step 2: Set Up Your Databases
In Notion, type /database on a new page and choose "Table - Full page." This creates a database that lives as its own page in your workspace. Build each database separately before connecting anything to the dashboard.
For a personal productivity dashboard, start with these three databases:
Tasks: Properties for Status (select: Not started, In progress, Done), Due Date (date), Priority (select: High, Medium, Low), and Project (relation to your Projects database).
Projects: Properties for Status (select), Start/End Date (date range), and Area (select: Work, Personal, Side Projects).
Habits: Properties for Date (date), Habit Name (select), and Completed (checkbox).
Build the relation between Tasks and Projects so that each task links to a parent project. This lets you filter your dashboard by project without duplicating data. See our habit tracker planner guide for more on structuring habit databases in Notion.
Step 3: Create Views for Each Database
Each database can have multiple views. A Tasks database might have a Board view for Kanban, a Calendar view for deadline tracking, and a Table view filtered to just "In Progress" tasks. The key insight: the same database, different lenses.
For your dashboard, you want linked database views, not the full database. On any Notion page, type /linked and select "Create linked database view." Choose your Tasks database and add a filter for "Status is not Done" and "Due Date is within the next 7 days." Now your dashboard shows only active, near-term tasks without showing completed ones.
Create these views before building the dashboard page itself. You'll be adding them as linked views, so having them pre-filtered saves time. This is especially useful for building a visual schedule that shows what's happening this week at a glance.
Step 4: Build the Dashboard Page
Create a new full-page document in Notion. Use the "/" command to add a 2-column layout at the top. In the left column, add a linked view of your Tasks database filtered to "Due this week." In the right column, add a linked view of your Projects database filtered to "Status is Active."
Below the two-column row, add your Habits linked view in a gallery or table layout. Use callout blocks (type /callout) to add section labels or status summaries between database views. A simple callout that says "This Week's Focus:" above your tasks view makes the page readable at a glance.
Keep the page structure simple. Headers, a two-column block, and stacked database views get you 90% of the way there. Adding columns, dividers, and cover images makes it look polished without requiring a Business plan. For inspiration, see our digital planner app guide for how others structure their personal operating systems.
Step 5: Add Charts (Plus Plan and Above)
On the Plus plan ($10/month) and above, you can add chart blocks to any Notion page. Type /chart and choose from vertical bar, horizontal bar, line, donut, or number charts. Charts pull from your databases and update automatically as data changes.
Useful charts for a productivity dashboard: a bar chart showing tasks completed per week from your Tasks database, a donut chart showing the breakdown of tasks by Priority, or a number chart showing how many habits you hit today. These give you a visual summary that a linked table view can't.
The more advanced Dashboard view (with widget blocks and multiple chart layouts per row) requires the Business plan at $20/month. For individuals, the Plus plan's chart blocks are enough. For teams managing sprint work or KPIs, the Business plan's dashboard view is worth it.
Step 6: Use Templates to Skip the Setup
If building databases from scratch sounds like a lot of work, Notion's template gallery has dozens of pre-built dashboards. Search the Notion template gallery for "personal dashboard" or "project management dashboard" and you'll find options ranging from minimal setups to full life operating systems.
The Thomas Frank Productivity System template is a popular starting point for personal dashboards. For team use, the Engineering Sprint template or the Company Home template give you a working structure that you can adapt. Templates are a good way to see how relations, rollups, and linked views are supposed to connect before building your own.
Once you import a template, customize it by removing the databases you don't need and adding the views you do. Most templates include more than you'll actually use, so simplifying is the main task. A clean personal setup is described in our daily planner guide if you want a more focused starting point.
The Scheduling Gap in Notion
Notion dashboards are great for tracking what you have to do. They don't tell you when to do it.
Lifestack is a daily planner built to fill that gap. It reads your task list and your energy levels and auto-schedules work blocks for the times when you're most likely to actually do them. If your Notion dashboard shows a high-priority task that needs three hours of focus time, Lifestack finds a three-hour window in your week that fits your energy pattern and puts it there.
This is what an energy-aware calendar does differently from a plain calendar or Notion timeline. Your schedule isn't just "tasks on dates." It is tasks matched to the mental state you'll actually be in. Many people run their task tracking in Notion and their scheduling in Lifestack, using the two tools together. See our daily planner with Google Calendar sync guide for how that kind of two-tool setup works in practice.
Lifestack costs $10/month or $50/year, with a 7-day free trial on the annual plan.
Frequently Asked Questions
Can I build a Notion dashboard for free?
Yes. The free plan supports unlimited pages, linked database views, and basic layouts. You can build a fully functional personal dashboard with linked Tasks, Projects, and Habits views at no cost. Charts require the Plus plan ($10/month), and the advanced Dashboard widget view requires Business ($20/month).
What is the difference between a Notion dashboard and a Notion page?
A regular Notion page is static content (text, images, embeds). A dashboard page uses linked database views to pull live data from your databases. When you complete a task in your Tasks database, the linked view on your dashboard updates automatically. The dashboard is a reading surface; the databases are where data actually lives.
How do I make a Notion dashboard look good?
Use a cover image and page icon, add column layouts to organize views side by side, use callout blocks as visual dividers, and keep the number of database views to 4 to 6. Consistent property names and a limited set of status options make views easier to read. The Notion template gallery shows many well-designed examples to draw from.
Can I share a Notion dashboard with my team?
Yes. Share the dashboard page with guests (free on all plans, limited access) or full workspace members. On the Plus plan, you can publish a page to the web as a read-only link. For collaborative editing by a team, members need a seat on your workspace.
What is the best Notion dashboard template?
The Thomas Frank Productivity System is widely recommended for personal productivity. The Notion official "Personal Dashboard 2026" template is a cleaner, more minimal starting point. For team use, the Company Home and Project Management templates are solid foundations. Browse the weekly planner app guide for alternatives if Notion's complexity feels like too much overhead for your workflow.

FOLLOW ON
FOLLOW ON
FOLLOW ON


Copyright 2026 © Lifestack. All rights reserved
Copyright 2026 © Lifestack. All rights reserved

